SSH key pair
Key pairs are SSH credentials that allows determined users to access a VM. The verification is made checking the public/private key registered on the VM. It will only allow those keys included at the authorized keys file. There are multiple ways to create your key pair but we will be focusing on the keypair creation at OpenStack itself or by command line on your computer.
Create an SSH key pair in OpenStack
Navigate through Horizon tabs and find Compute > Key pair
Click
Create Key PairIt will open a new tab. Select a name for the key pair and select SSH key type.
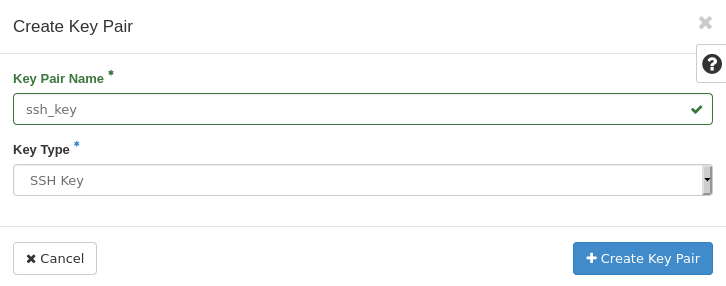
Once done, you will be prompted to download the private key which needs to be stored. This key will be necessary for accessing the VM via SSH using MobaXterm or a similar program.
Create an SSH key pair by yourself
The most common and easy way to create a SSH key pair by command line in your computer is ussing the command ssh-keygen. This method is shared between Windows and Linux but the directories where the keys are stored may change.
Open a command terminal as Administrator (Windows) and execute
ssh-keygencommand.By default, the system will save the keys to a directory similiar to C:Usersyour_username/.ssh/id_rsa. Press enter to follow the default options.
You will be asked to set a password. Keep this pass in mind because you will need it later to verify your identity. Set the password and press enter.
Open your file browser and navigate to the directory where you saved the keys.
You should see two files: one is the id_rsa file and the public key you’ll be using is saved as id_rsa.pub. This is your SSH key pair and you will only share the public key file. Be careful when opening the id_rsa.pub, because Windows will open it with Publisher and it will crash. To check your id_rsa.pub just open it with Notes or similar program.
Import SSH public key
You should import your public key before deploying any VM because key pair can’t be changed after a VM is launched. The procedure to add a public key is the following:
Navigate at Horizon through Computing > Key pair and click on
Import public key.Set a name for the public key and select SSH key type.
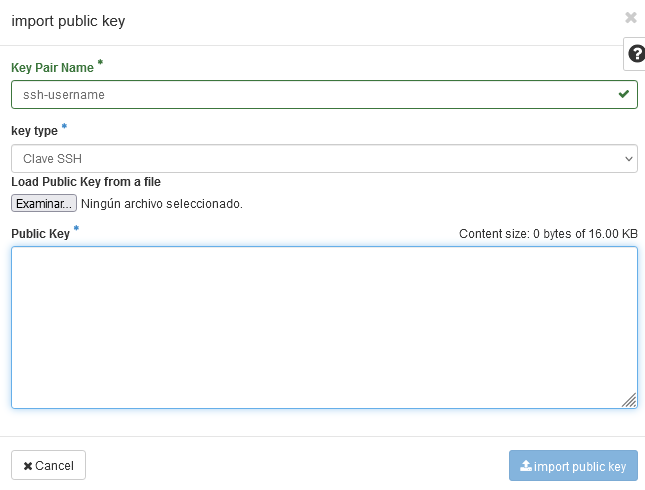
You can load your id_rsa.pub file directly or paste it. We strongly recommend to load the file because pasting it could add blank spaces or line breaks which will lead to a failure. Just finish the process by clicking on Import public key.
To confirm success, navigate back to Compute > Key Pairs listing and confirm the key pair was uploaded.
Note
If you have your SSH keys and your security groups set, you can now deploy your VM.