How to connect
As explained at First steps section, if you are accessing CESGA’s resources from an authorized center, you do not need to configure the VPN.
Another way to access our servers without using the VPN is through the User Portal with your username and password. Under the Tools section, you have an SSH Terminal that opens a command terminal directly on FinisTerrae III. Another option are the Remote Desktops, which provide a Linux desktop with direct access to the directories and command terminal of FinisTerrae III. These Remote Desktops will be destroyed after 36 hours, unless you log out of the desktop before reaching that limit or restart the countdown. If you want more information about the use of the Remote Desktops you can check this page.
If you are not at your center or working abroad (whether at home or in another country), you must use the VPN to connect with our servers (except for SSH Terminal and Remote Desktops, as explained above). Enabling a VPN connection is mandatory in all of these cases, and the VPN must be established using Checkpoint. The installation and configuration of this tool are discussed below for different operating systems.
Installation and configuration of Checkpoint on Windows
Checkpoint is used for establishing a VPN connection allowing access to our services. It enables remote users to securely access our network resources from anywhere in the world using encrypted tunnels, ensuring confidentiality and integrity of data being transmitted over the internet. It is the exclusive tool available for activating the VPN connection with our facilities.
To install Checkpoint, you must first download the executable file on this link. Please note that this file is compatible with Windows 7, 8.1, 10, and 11. If your Windows version is not one of these, you may encounter some difficulties when installing Checkpoint.
The installation will be carried out with the downloaded CheckPointVPN executable file (*.msi) following these steps:
Double-click on the executable file. A Windows message will appear indicating that changes will be made to the system. You must accept these changes.
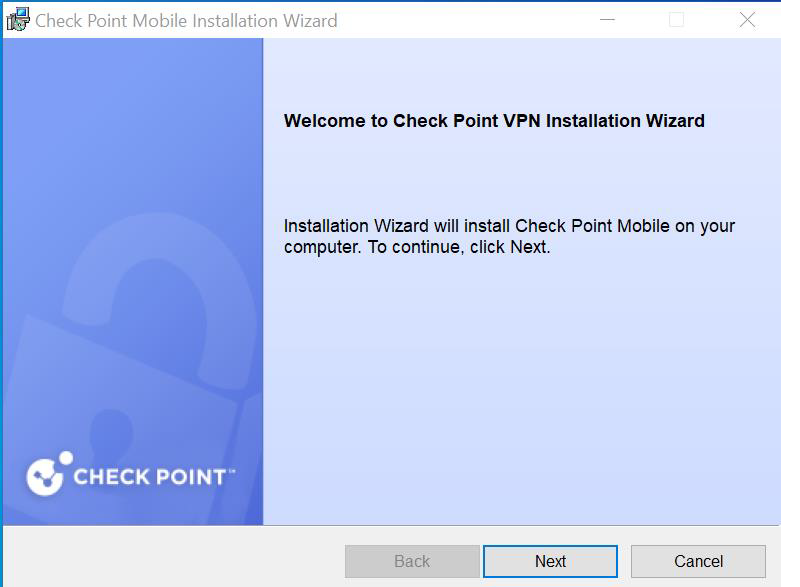
Next, the installation wizard will start with a welcome message. Click on Next.

In the next screen, you have to choose the option “Check Point Mobile” and click on Next.

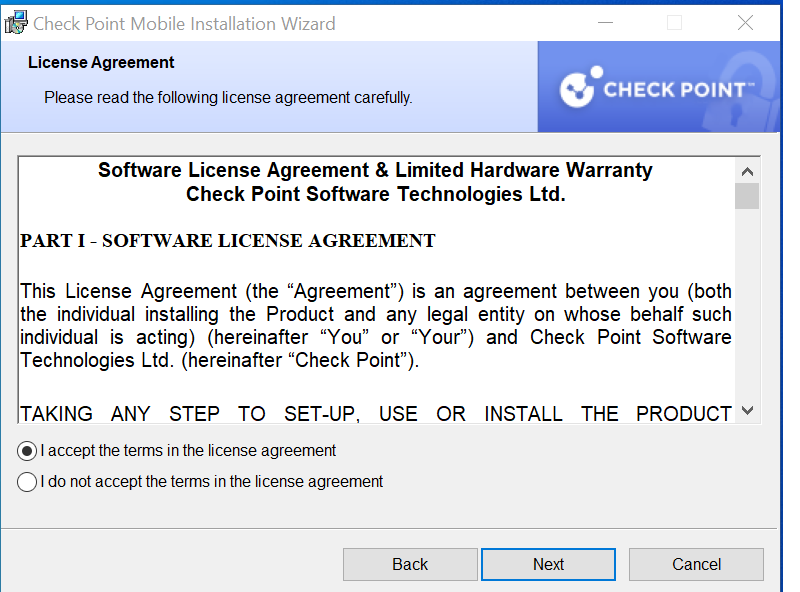
Next, the License Agreement will appear, it must be accepted by checking the option “I accept the terms in the license agreement” and clicking on Next.
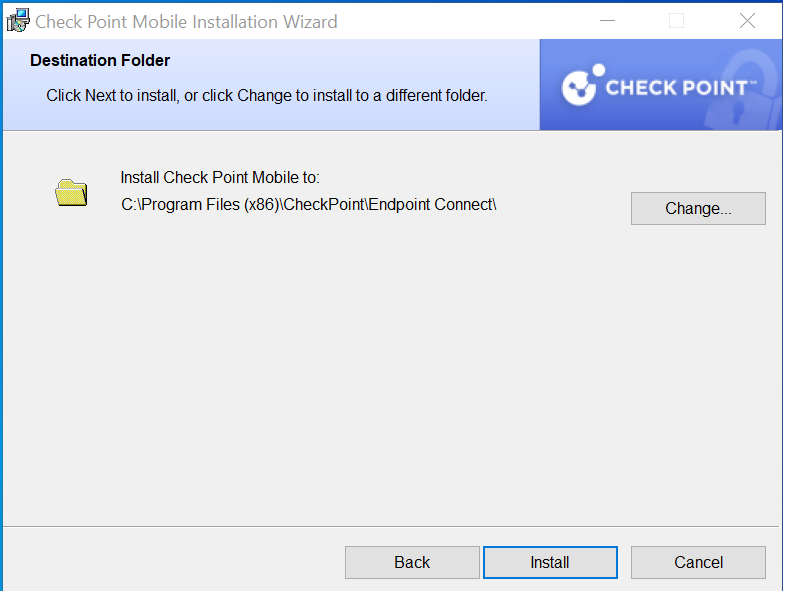
The next screen will display the default directory chosen to save the installation files. It is recommended to leave the default path as shown. Then, click on Install.
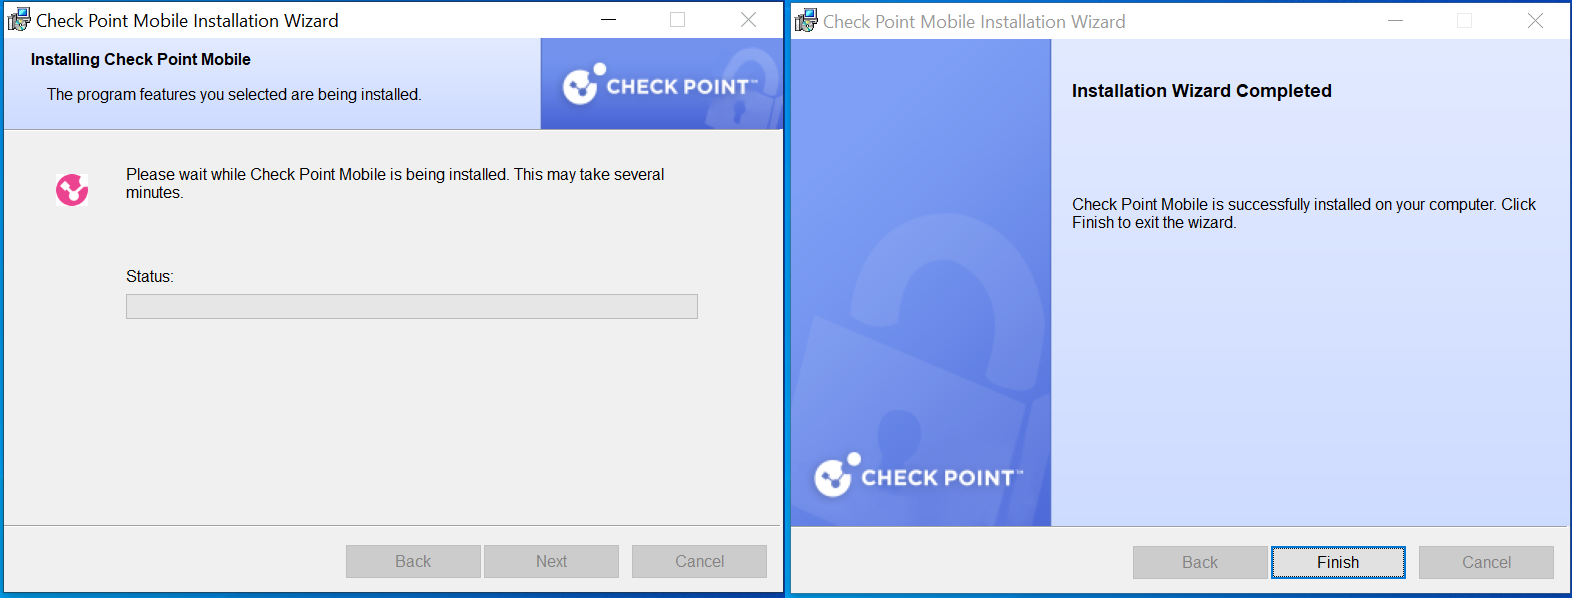
When the installation starts, a progress bar will appear which should not take more than 5 minutes. Finally, it will show that the installation has finished. Click on Finish.
Automatically after finishing the installation, the Checkpoint will open and you should find the Checkpoint icon (a yellow padlock) in the taskbar. If you right-click on it, the “VPN Options” option will appear and you have to click on it. In the next screen you will have to click on New to start the wizard to configure a new connection. Complete the server configuration with secure.cesga.es in the blank space labeled “Server address or name”. If you check the “Display name” box, it will allow you to enter an alternative name for the connection such as “CESGA-VPN”.
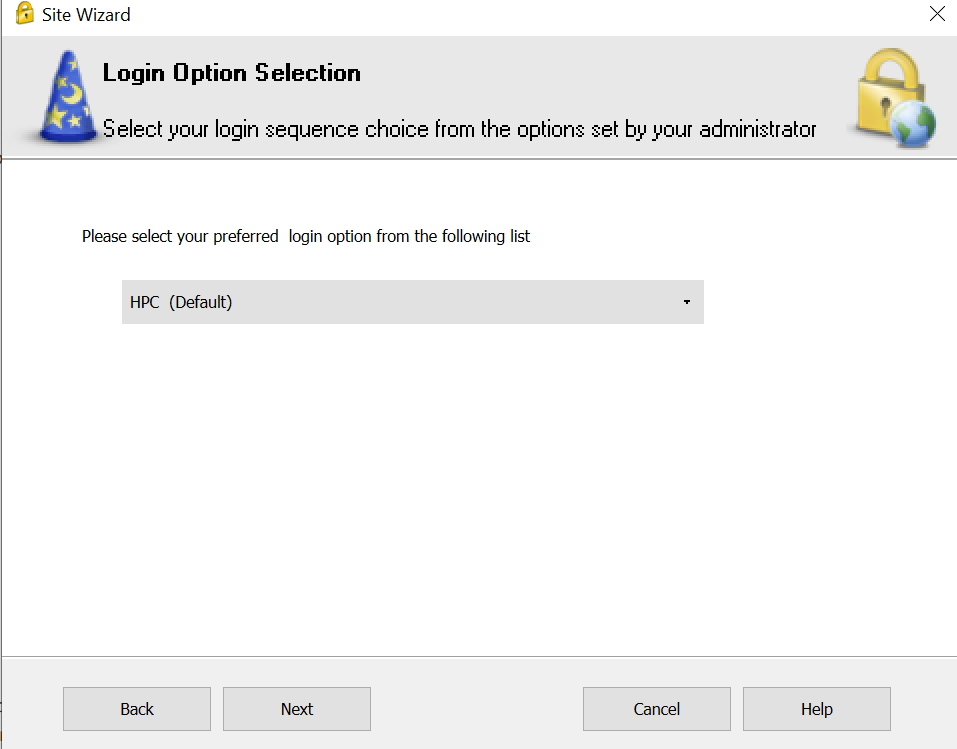
In the next screen you will need to select your preferred login option from a list. Please select the option HPC (default).
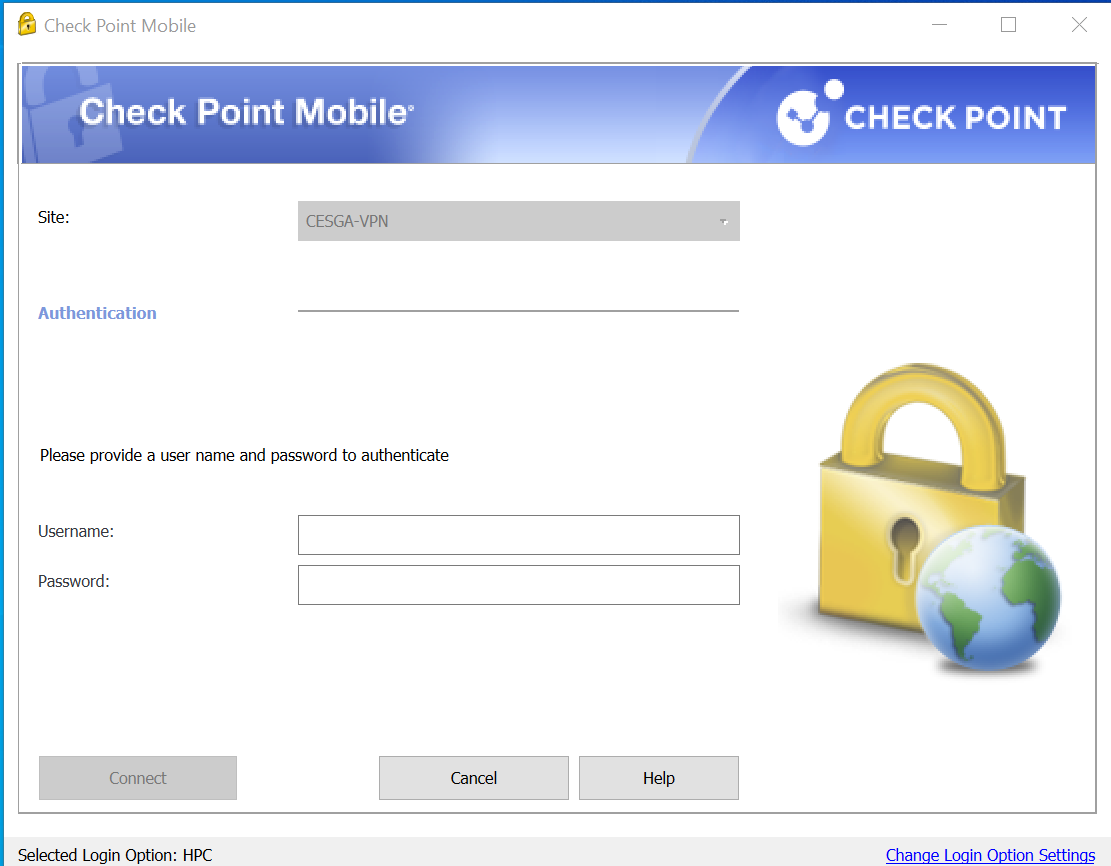
Then you can connect using the previously configure site and you will have to enter the username and password and click on Connect:
Warning
These credentials are the same ones used to access FinisTerrae III or other services offered by CESGA. That is, it’s the username that was granted when registering for CESGA services. DO NOT ENTER YOUR FULL EMAIL OR DOMAIN @FT3.CESGA.ES.
For example, if you use user_cesga@ft3.cesga.es to connect to FinisTerrae III, the username that should be entered in the CheckPoint credentials is just user_cesga.
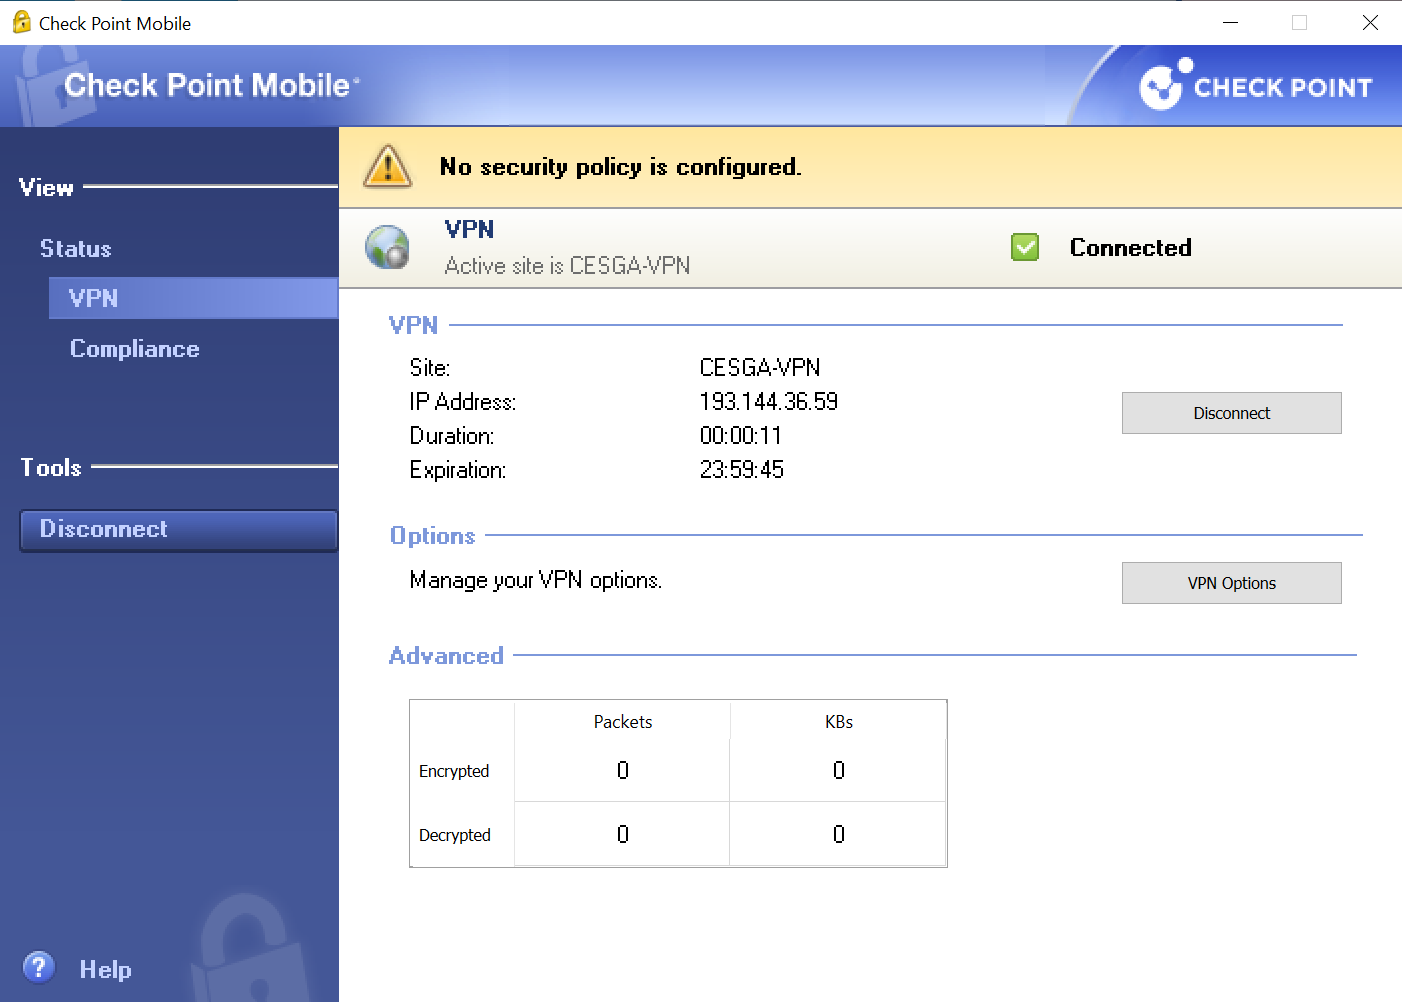
Once the credentials are checked it will show that the connection is active.
Note
As indicated by the above message, the maximum duration of the VPN connection is 24 hours. 5 minutes before this time expires, a notification will appear to re-enter the password. This will restart the connection time counter and allow you to connect for another 24 hours.
How to log in once Checkpoint is installed?
Once the CheckPoint client has been installed on your computer and to activate the VPN, you should follow these steps:
Look for CheckPoint in your installed applications and open it.
The login screen shown in the screenshot of section 8 will appear. As indicated in that section, you should enter your credentials and click on Connect.
It is very likely that the program will automatically run when you turn on your computer, so you can find the CheckPoint icon (a yellow padlock) on the desktop taskbar. If you right-click on it, the Connect option will appear and will let you to activate the VPN connection.
If you wish to disconnect from the VPN, on the menu shown in the previous screenshot, you can turn it off by clicking on Shutdown Client.
Installation and configuration of Checkpoint on MacOS
As explained above, Checkpoint is the exclusive tool available for activating the VPN connection with our facilities. To install Checkpoint, you must first download the executable file. Depending on your macOS version, the executable may vary:
For macOS 10.14, 10.15, 11 and 12: Download this file
For macOS from 10.11 to 10.13: Use this file
For older versions try this file. However, we cannot guarantee that it will work on every older version.
The installation will be carried out with any of the excutable files described above and following the steps of the wizard. Be careful, the server/hostname/IP address is not set by default on macOS, so you will have to complete the configuration being the hostname/IP address secure.cesga.es.

As shown on the screenshot above, you have to add secure.cesga.es on the blank space of “Server address or name”. If you check the “Display name” box, It would let you to write and alternative name for the connection, for example “CESGA-VPN”.
If, by any reason, you are prompted with the window above please select the option HPC (default).
Once the configuration of the server is made and you connect the VPN, it will prompt you to add your user and password. The credentials to log in have the same warning as in the others OS:
Warning
These credentials are the same ones used to access FinisTerrae III or other services offered by CESGA. That is, it’s the username that was granted when registering for CESGA services. DO NOT ENTER YOUR FULL EMAIL OR DOMAIN @FT3.CESGA.ES.
For example, if you use mailto:user_cesga@ft3.cesga.es to connect to FinisTerrae III or your mail is mailto:user_cesga@dominion.of.your.center.com the username that should be entered in the CheckPoint credentials is just user_cesga.
Installation and configuration of Checkpoint on Linux
As explained above, Checkpoint is the exclusive tool available for activating the VPN connection with our facilities. The installation will be carried out with the snx file following the steps explained below:
1. From the command line of your computer, download the snx file executing:
wget http://bigdata.cesga.es/files/snx If the wget command fails, you can download the file from here.
Change the permissions of the file to make it executable:
chmod a+x snxInstall the required dependencies, multiarch must be enable because snx is a i386 binary:
sudo dpkg --add-architecture i386sudo apt updatesudo apt install libaudit1:i386 libbsd0:i386 libc6:i386 libcap-ng0:i386 libgcc-s1:i386 libpam0g:i386 libstdc++5:i386 libx11-6:i386 libxau6:i386 libxcb1:i386 libxdmcp6:i386
Once the installation is complete, to start the VPN connection you must execute the following command:
sudo ./snx -s secure.cesga.es -u <username>You will need to enter your username and password.
Warning
These credentials are the same ones used to access FinisTerrae III or other services offered by CESGA. That is, it’s the username that was granted when registering for CESGA services. DO NOT ENTER YOUR FULL EMAIL OR DOMAIN @FT3.CESGA.ES.
For example, if you use mailto:user_cesga@ft3.cesga.es to connect to FinisTerrae III or your mail is mailto:user_cesga@dominion.of.your.center.com you should execute: sudo ./snx -s secure.cesga.es -u user_cesga
It will prompt you to enter your password, and once the connection is established, it will display the message:
Check Point's Linux SNX
build 800010003
Please enter your password:
NX - connected.
Session parameters:
===================
Office Mode IP      : ...
DNS Server          : ...
Secondary DNS Server: ...
Timeout             : 24 hours
As indicated by the above message, the maximum duration of the VPN connection is 24 hours. 5 minutes before this time expires, a notification will appear to re-enter the password. This will restart the connection hours counter and allow you to connect for another 24 hours.
To disconnect the VPN, use the following command:
sudo snx -d
Note
It is possible to configure an script to automatize the log in in order to avoid entering the password everytime you connect the VPN. To do so, you must write a login script including this line echo “Your_Password” | sudo ./snx -s secure.cesga.es -u <username>
If this command fails and the terminal gets freeze, you can also try using expect. You should first verify if you have installes it.
#!/usr/bin/expect

#Spawn:
spawn sudo ./snx -s secure.cesga.es -u <username>

#Brief delay to send automatically the password. You don't have to do anything:
expect "Please enter your password:"
send "<password>\r"

#It waits for the confirmation and answers "Yes" by default.
expect "Do you accept? \[y\]es/ \[N\]o:"
send "y"

#Ends of expect command
expect eof

An alternative would be to use ``expect -c`` so the script will be executed using the /bin/bash shell, and to pass the previous responses to the ``expect -c`` command in quotes, escaping them to prevent them from being used as a filename or directory. ``Expect`` also needs to be installed and the shell used would be /bin/bash.

#!/bin/bash

expect -c "
spawn sudo ./snx -s secure.cesga.es -u <username>
expect \"Please enter your password:\"
send \"<password>\r\"
expect \"Do you accept? \[y\]es/ \[N\]o:\"
send \"y\"
expect eof
"
Installation and configuration of Checkpoint on Android or iPhone mobile
CESGA’s VPN solution has a client for both Android and iPhone, and is called Check Point Capsule VPN. It’s available in both the Play Store and the App Store.
The connection details are the same as for the Windows or macOS client indicated previously:
Server: secure.cesga.es
User: Your FinisTerrae III user
Password: Your FinisTerrae III password
Warning
These credentials are the same ones used to access FinisTerrae III or other services offered by CESGA. That is, it’s the username that was granted when registering for CESGA services. DO NOT ENTER YOUR FULL EMAIL OR DOMAIN @FT3.CESGA.ES.
FinisTerrae III fingerprints
If you need to add any ssh key to access FinisTerrae III, these are different fingerprints based on the security type:
SHA256:maE6AwVacZ5B8Drm/XfMdvJ1ebaqEf7BnDD4hZL2WHA ft3.cesga.es (RSA)
SHA256:LeEPzn5dC89HQ/54mnSKnAqam/cLNiiNqZS/MosZ7VY ft3.cesga.es (ECDSA)
SHA256:2QLXlyJxRDrYBXd8b8kn6J7fvnWKC4W2iheCxOsGch0 ft3.cesga.es (ED25519)